How To: Make a Gallery Wall
Last Friday & Saturday, I spent my time creating a gallery (my mom was coming over to see the house for the first time, so obviously everything needed to be finished.) I had been wanting to do it for a while, and until then, the photos had just been sitting on the floor. I'm so glad I finally did it and am so happy with how it turned out! I already had all of my frames and paintings that needed to be hung. I suggest you have everything you need/want to hang before nailing anything!
Step 1: Lay the Photos/Frames/Paintings on the floor
I measured the width I wanted to fill on the wall and then used some rulers to make edges. The wall was very tall, so I wasn't as concerned with height as I was width. Then I started playing with the photos within those lines until I came up with a layout that I liked!

Step 2: Tape paper to the wall
This was the best tip I got when doing the wall. I found some old paper and tissue paper around the house and sized it to equal all of the frames. Then I used Painter's tape to take it to the wall without doing any damage. This was so helpful when trying to figure out where to put the nails. I was able to measure the halfway spot on each frame and then decide how far down to the put the nail/screw. I used old paper that I didn't mind ripping.
Step 3: Hanging the pictures!
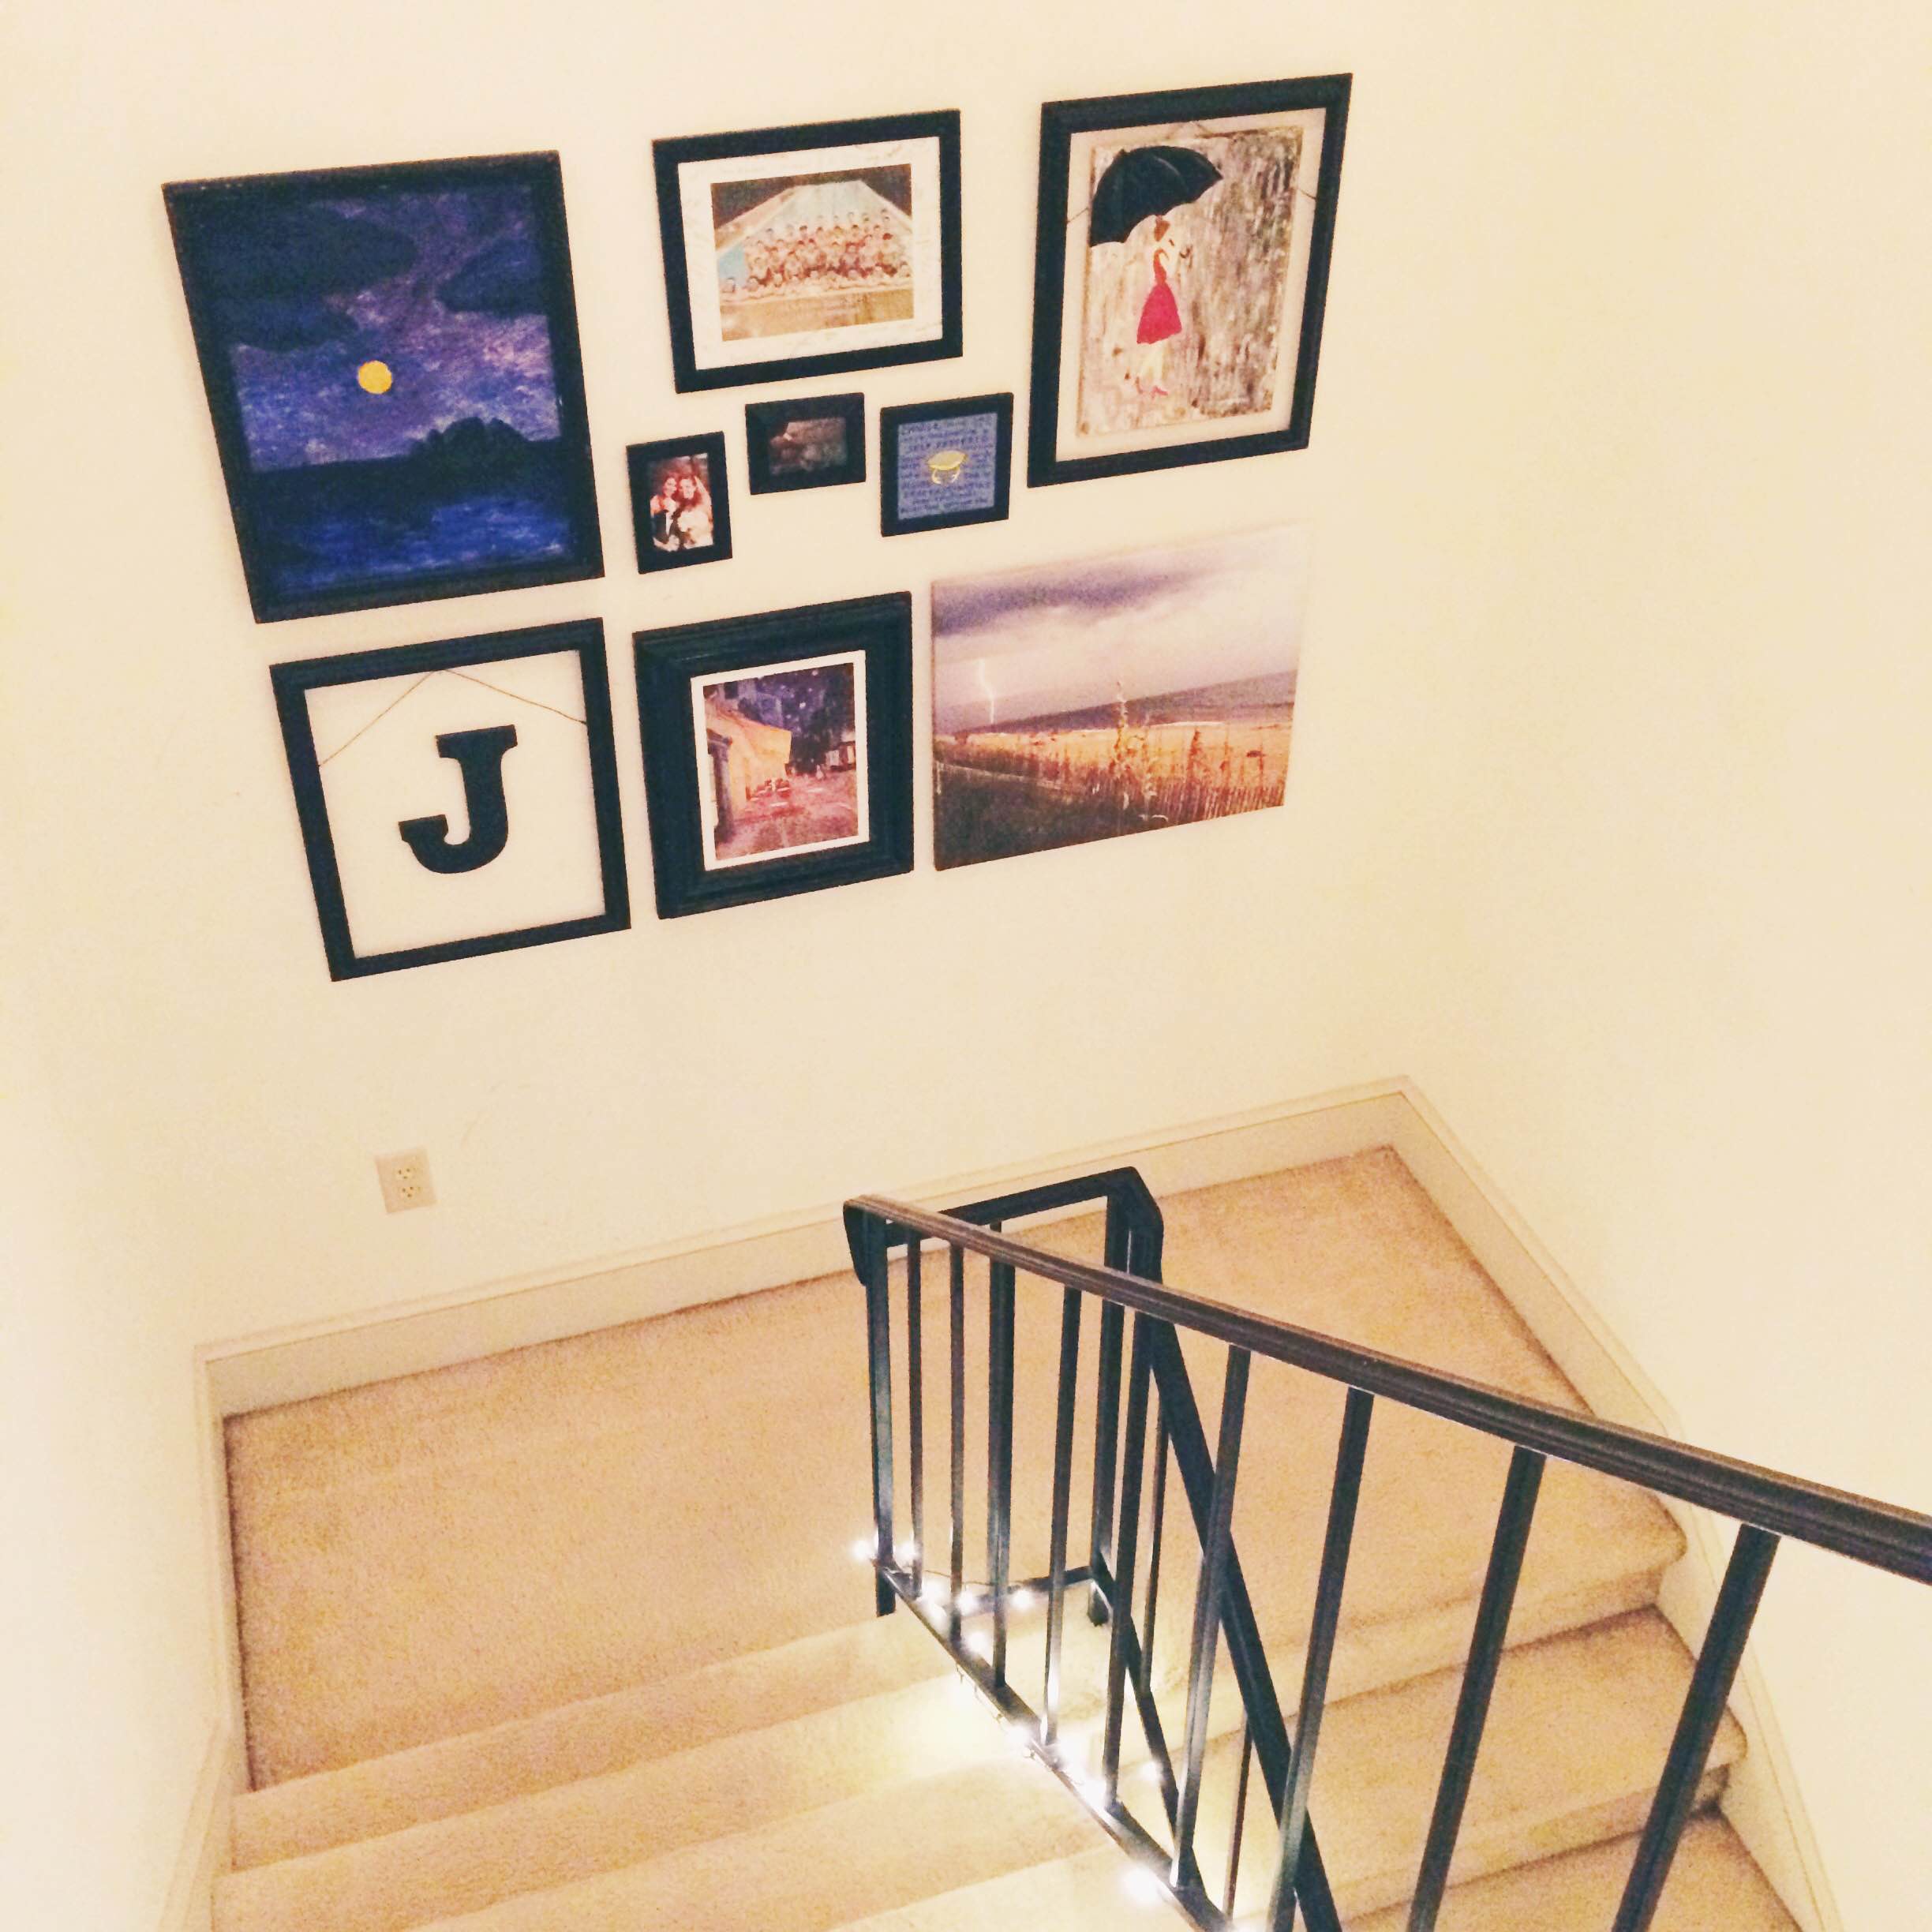
I measured the halfway point of each picture, and then how far down the back it needed to go before putting the screw in. I also hung each picture as I went so I could see how they hung in relation to each other, which was really helpful. All in all, what I thought was going to be pretty tough, really wasn't that bad at all! I just made sure to take it step by step and be very thorough. I'm really pleased with how it turned out!